|
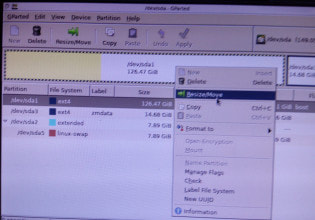
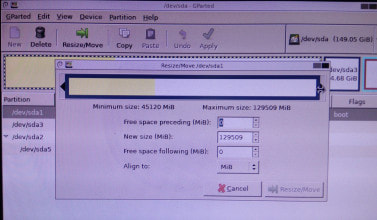
This post explains how to use a partition of a disk of a PC to store zoneminder events instead of saving on the computer ( At /var/cache/zoneminder/events). To enable to write data of zoneminder to the partition of the drive , It is necessary to mount the usb drive on the file system of the PC . For the installation details of Zoneminder please refer my earlier post First make a partition of the disk and formatted it to ext4 . For partitioning , It is easy to use GParted-LiveCD Ref https://gparted.org/download.php (You will have to download GParted live and write it to a cd )
After rebooting you will be able to see the partition using following methods Open the Ubuntu terminal ls -l /dev/disk/by-uuid 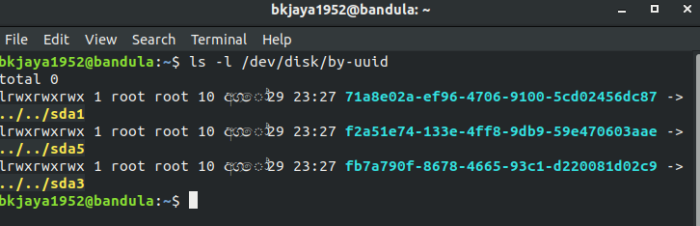 Figure 1 :-Getting details of disk using the Ubuntu terminal ( ls -l /dev/disk/by-uuid ) 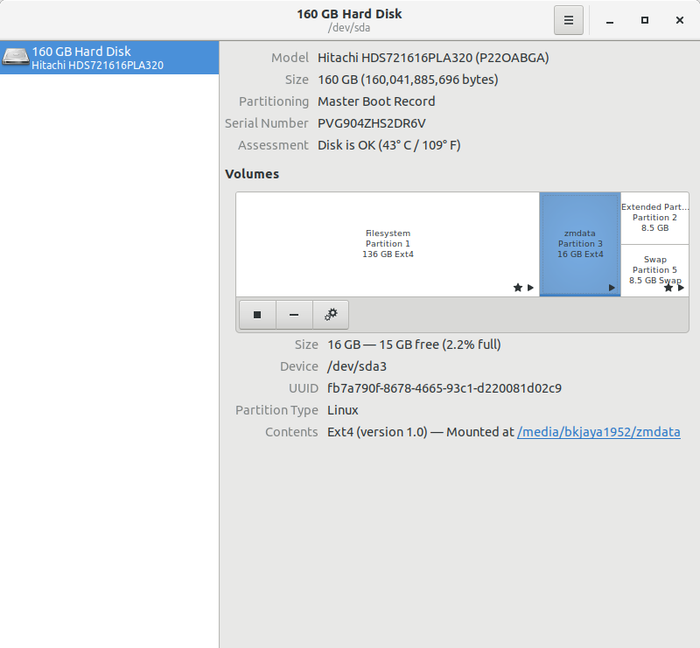 Figure 2:- Getting details of disk using gnome-disk-utility 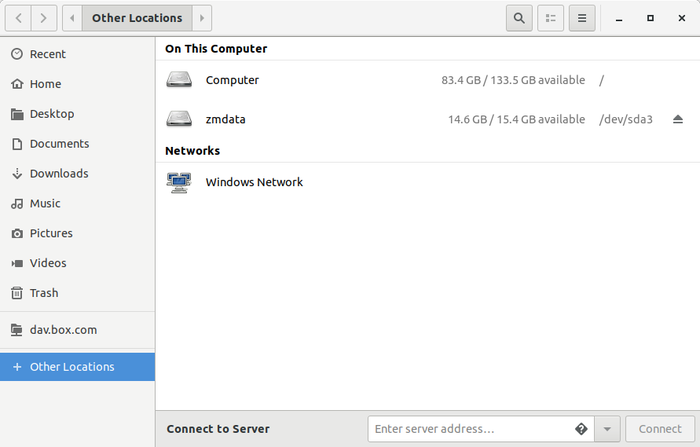 Figure 3:-mounted disks. The sda3 was named as zmdata during the partitioning You can see the sda3 is mounted on /media/bkjaya1952/zmdata. But without mounting on the file system of the PC zoneminder will not be able to write data in to sda3. Therefore you will have to create a Systemd Mount Unit. Creating Systemd Mount UnitOpen the Ubuntu terminal sudo mkdir /mnt/sda3 sudo gedit /etc/systemd/system/mnt-sda3.mount and paste the following codes into mnt-sda3.mount and save (details of uuid of usb was taken from figure 1 and figure 2) 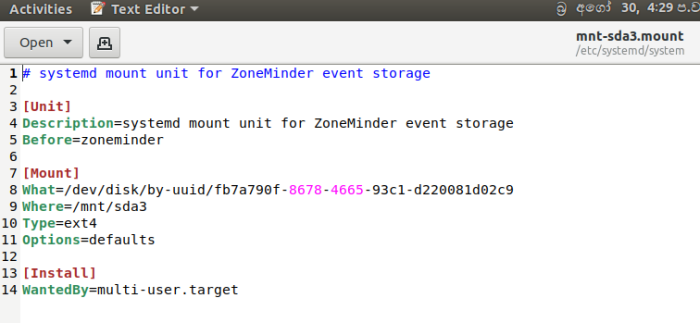 Figure 4:-Codes in mnt-sda3.mount sudo systemctl enable mnt-sda3.mount sudo systemctl start mnt-sda3.mount Then restart the computer Now if you see the folder /mnt/sda3 ,you can see that the disk partition is mounted on /mnt 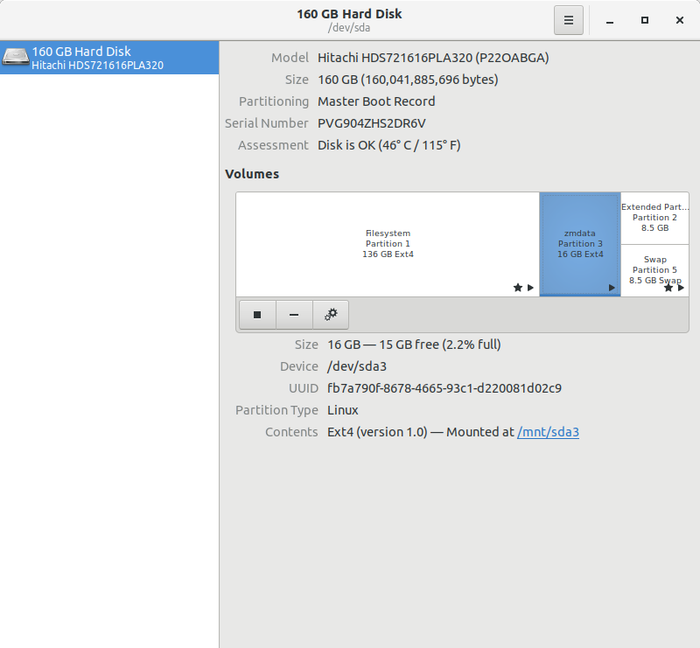 Figure 5:-The sda3 Partition is now mounted on the file system of the PC If you compare Figure 2 and Figure 5 You can see the sda3 is mounted on the file system now Create a folder called “zoneminder” on the mounted sda3. Then create folders “events” with in the folder “zoneminder” Open the ubuntu terminal cd /mnt/sda3 mkdir zoneminder cd zoneminder mkdir events sudo chown -R www-data:www-data /mnt/sda3/zoneminder sudo chown -R www-data:www-data /mnt/sda3/zoneminder/events 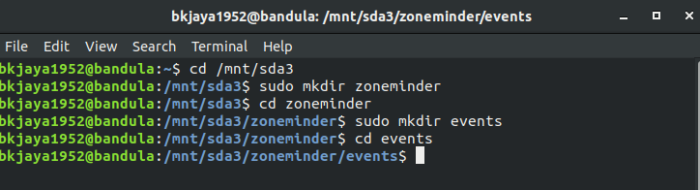 Figure 6:- Create a config file under /etc/zm/conf.d . Name the file anything you want just as long as it ends in “.conf”. Add the following content to the file and save your changes: (In my case I have used ajp.conf as the file name ) sudo gedit /etc/zm/conf.d/ajp.conf and pasted following codes and saved the file in /etc/zm/conf.d  Figure 7:- Open the ZM console and go to Options/Storage and add a NewStorage added Storage path as /mnt/sda3/zoneminder/events Please refer the following figure for the details 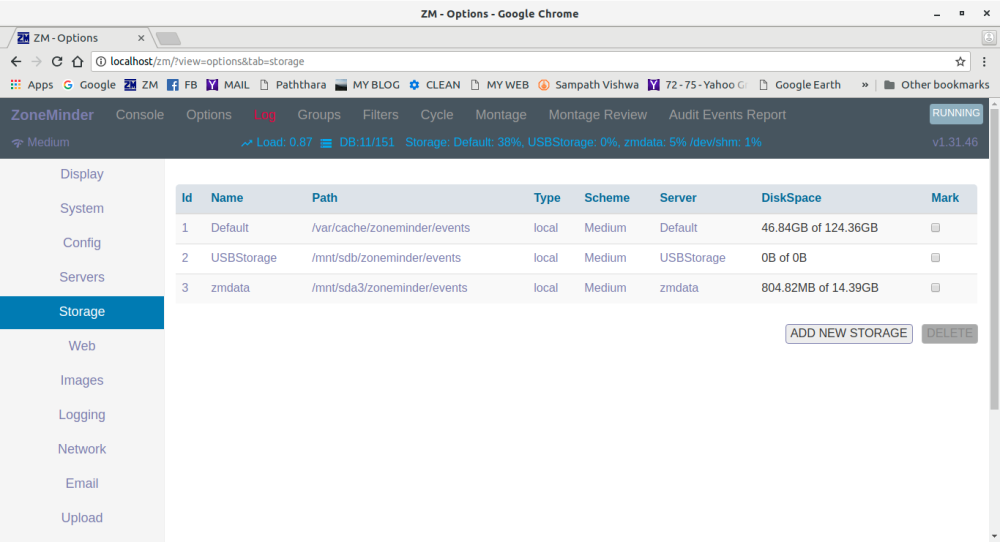 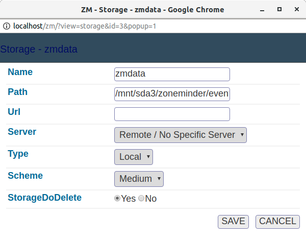 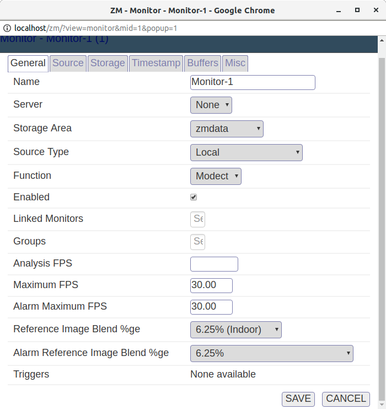 Figure 8:-Creating a New Storage for the Monitor Then enter following command on the Ubuntu terminal to start zoneminder. sudo systemctl start zoneminder 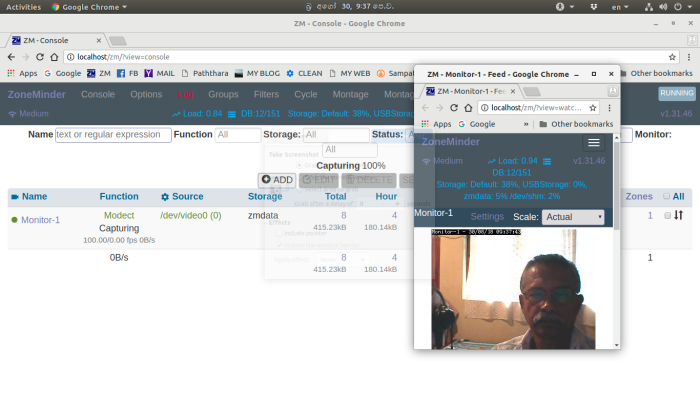 Figure 9:-ZM Console and the monitor 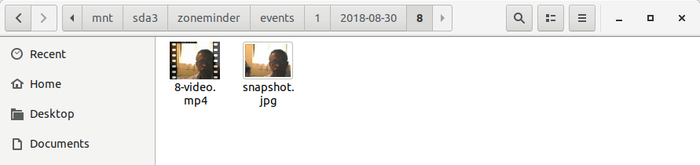 Figure 10:- Saved ZM events on the mounted disk partition ( At/mnt/sda3/zoneminder/events) Reference :- Zoneminder Official Installation Guide Andrew Bauer’s blog-page
0 Comments
Leave a Reply. |
AuthorRetired Director of Irrigation ,Sri Lanka Categories
All
Archives
March 2020
|
 RSS Feed
