|
In this tutorial we are going to use “Docker: Enterprise Container Platform” (docker.io) to install “quantumobject/docker-zoneminder” on Ubuntu 18.10 operating system. The “quantumobject/docker-zoneminder which is based on zoneminder master packages has been maintained and uploaded to the Docker Hub by Angel Rodriguez-Rodiguez-Riccrdo. Installation procedure is given below. Installation of Docker on Ubuntu 18.10 Open the Ubuntu terminal and run sudo apt install docker.io We are going to run Zoneminder with MySQL in a separate container On the Ubuntu terminal sudo docker network create net ( I have used my timezone as Asia/Colombo . Your time zone can be get from here )The above commands will pull mysql/mysql-server:5.7 and create a container named “db” on the Docker Platform Then on the Ubuntu terminal sudo docker run -d -e TZ=Asia/Colombo -e MYSQL_USER=zmuser -e MYSQL_PASSWORD=zmpass -e MYSQL_DATABASE=zm -e MYSQL_ROOT_PASSWORD=mysqlpsswd -e MYSQL_ROOT_HOST=% --net net --name db mysql/mysql-server:5.7 sudo docker run -d --shm-size=4096m -e TZ=Asia/Colombo -e ZM_DB_HOST=db --net net --name zm -p 8081:80 --privileged=true quantumobject/docker-zoneminder The above commands will pull quantumobject/docker-zoneminder from the Docker Hub and create a container named “zm” (Here ,I have used port 8080 for the ZM panal ) ( You can notice “- -device=/dev/video0:/dev/video0” in above command which facilitate adding USB cameras on Zoneminder/Docker . You can use “- -privileged=true” also instead of “- -device=/dev/video0:/dev/video0”) In order to appear ZM panel , you will have to start above two containers “db” and “zm” using the terminal as follows. sudo docker start db sudo docker start zm Then open the web browser http://localhost:8080/zm/  Figure: 1 zm console with USB camera and Hikvision wifi IP camera 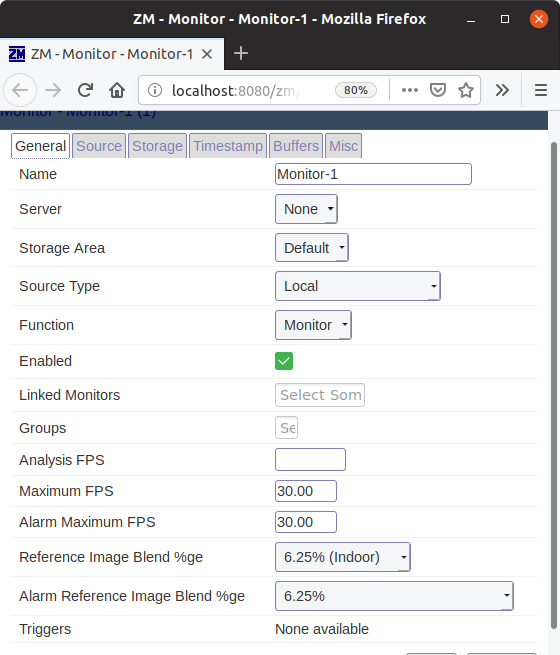 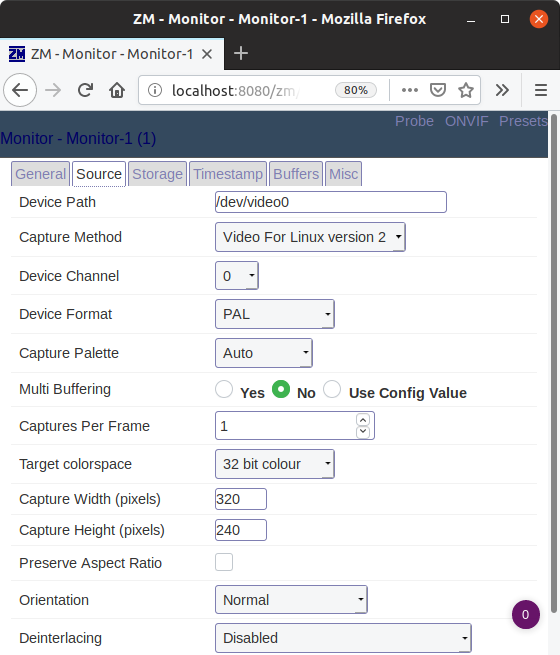 Figure: 2 Creating a monitor for USB camera Please be careful to select correct Capture Width and Height .If you use wrong configuration ,the error log will suggest the correct Width and Height. 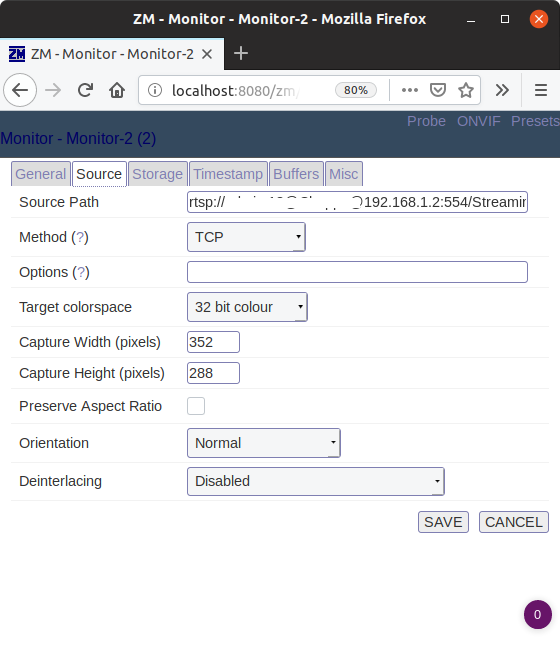 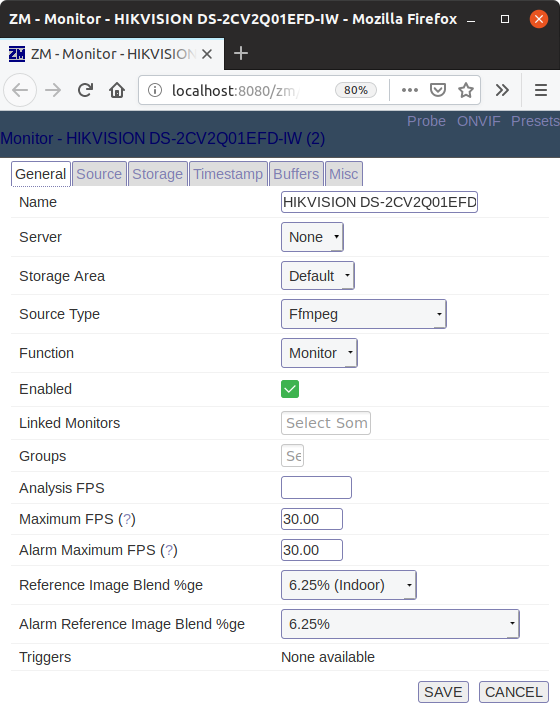 Figure: 3 Creating a monitor for Hikvision wifi IP camera The Camera modal is “Hikvision Q1 Network PT Camera” In zoneminder on Docker , ONVIF button of the monitor menu could not automatically detect the ip camera configuration . Therefor ,I had to enter the source path and Width Height manually. The source path is rtsp://username:password@ip address:554/Streaming/Channels/102?transportmode=mcast&profile=Profile_2 You will have to use your username:password and ip address of your camera Capture width 352 Capture height 288 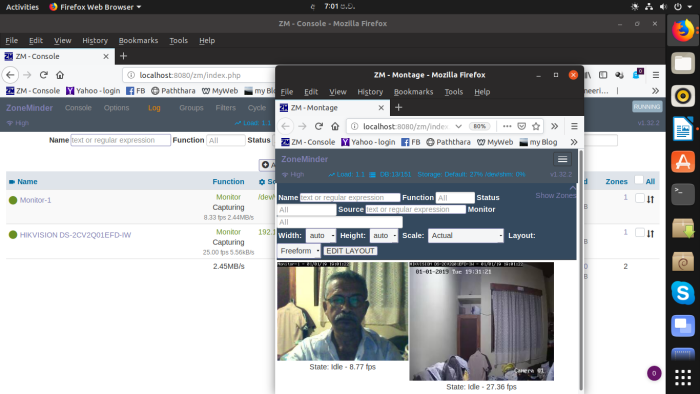 Figure: 4 zm console with USB camera and Hikvision wifi IP camera Following script is used to initiate zoneminder after booting. zmdockerstart.sh file is placed at the home directory . Then on the terminal sudo chmod u+x zmdockerstart.sh  Figure: 5 script to start zoneminder/docker In order to execute the script file zmdockerstart.sh at the boot time. On the terminal sudo crontab -e Then enter the following command at the bottom the opened file and save pressing Ctrl o keys @reboot /home/bkjaya1952/zmdockerstart.sh 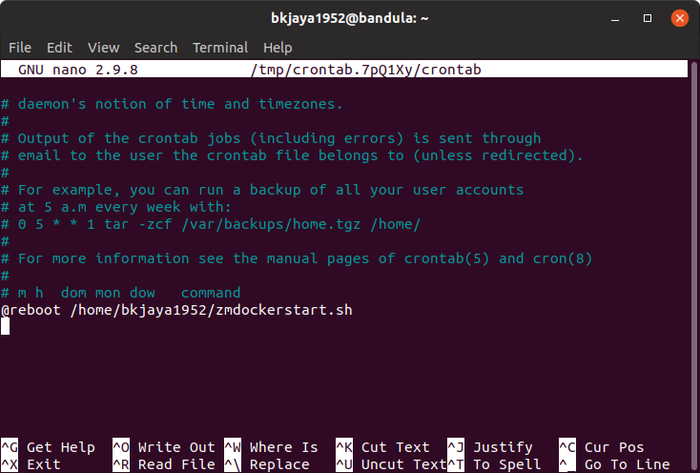 Figure: 6 Setting up the script zmdockerstart.sh with Corn You can see the script will start Zoneminder as root during the start up of Ubuntu
0 Comments
|
AuthorRetired Director of Irrigation ,Sri Lanka Categories
All
Archives
March 2020
|
 RSS Feed
