|
This post describes ,how to mount Box.com cloud on a desktop with Ubuntu using , WebDav , davfs2, gio mount. davfs2 is a Linux file system driver that allows to mount a WebDAV resource. WebDAV is an extension to HTTP/1.1 that allows remote collaborative authoring of Web resources First of all you will have to open a free Box.com account Install davfs2 On the Ubuntu terminal sudo apt install davfs2 sudo addsuser your username davfs2 ( use your linux username ) sudo dpkg-reconfigure davfs press <Yes> tab as shown in the flowing figure (This is to mount Box.com as a non-root user) 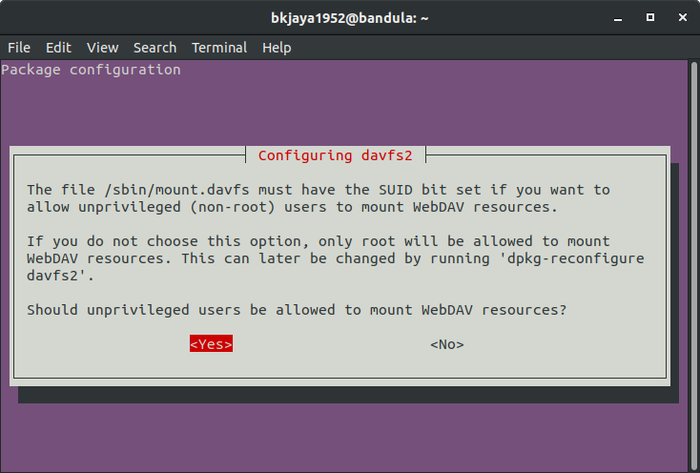 Figure 1:- configuring davfs Open the Nautilus file browser. Press the “+ Other Locations” tab .At the bottom of the opened window you can find a box for connecting to the server .On the box enter davs://dav.box.com/dav and press the connect button at the right hand corner . Then it will prompt to enter username and password of your Box.com account After entering your password and username tick Remember forever box 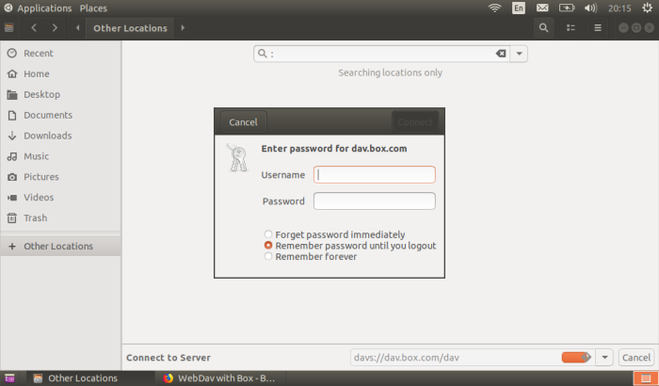 figure 2:-Entering username and password of your Box.com account Then a window will popup to enter a key . For the key just hit the enter key of the keyboard .( empty key). This is to make easy to automount the Box.com during the boot time.If you enter a key box.com will not mount at the boot time. If you miss the entering empty key , you can make the default keyring empty using “Passwords and Keys” tool as shown in the following figure 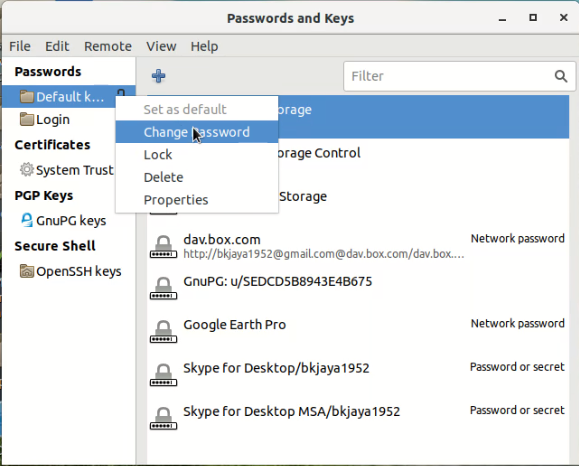 Figure 3:- Changing default keyring to empty key Now Box.com is mounted as shown in the following figure. 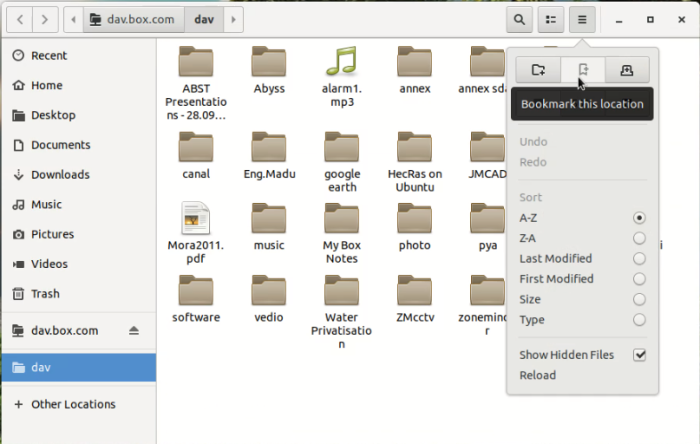 Figure 4:-Bookmarking the Box.com at the location Now Bookmark the location by pressing the button of the window as shown in Figure 3:- Next task is to making a script for automounting Box.com at the boot time. On the terminal sudo gedit boxmont.sh Enter the code ” gio mount davs://dav.box.com “as shown in the figure below and save the file To make boxmount.sh executable In the Ubuntu terminal chmod u+x boxmont.sh  Figure 5:-Script file to automount Box.com at the boot time Then add the script to startup programs as shown in the following figure 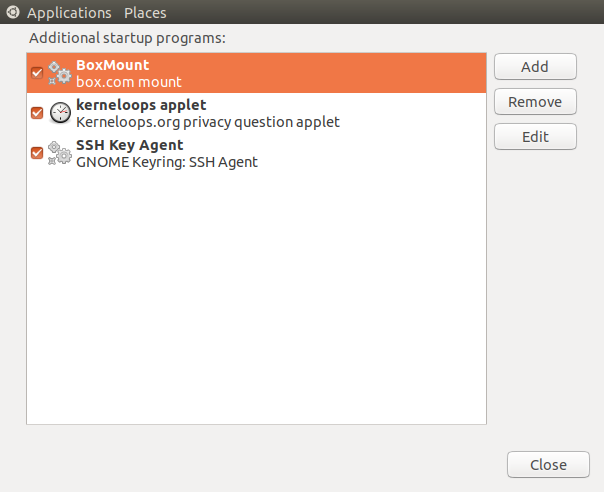 Figure 6:-Adding the script to startup programs If you restart the computer you will be able to see your box account is mounted automatically on the desktop as shown in the following figure 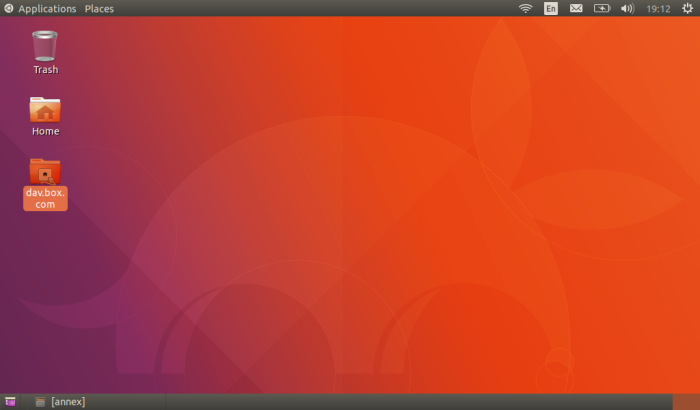 Figure 6:-box.com mounted at the boot time Note:- Box management has announced that they will deprecate support for WebDAV after Jan 31, 2019 . Therefore you may not be able to use this method after Jan 2019. But linux users still can use Box.com for auto sync data using git-annex. Please refer my earlier post on “How to sync zoneminder events with box.com account using git-annex on Ubuntu 18.04“
0 Comments
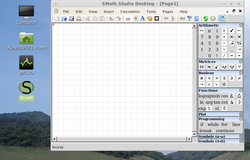
SMath Studio is a free software very much similar to MATHCAD.
First you will have to go to SMath Studio - Official Web Site to get the software downloaded.The software is available in Smath Forum .After obtaining the forum membership SMath for Linux can be downloaded .Move the downloaded tar.gz file to home folder and extract it. Then you will get a folder namely "SMathStudioDesktop.0_97_5154.Mono".This folder contains an executable file called "SMathStudio_Desktop.exe". "mono-complete" has to be installed in order to run "SMathStudio_Desktop.exe" file . You can install mono using the Software Manager of Mint . Now SMath Studio desktop can be accessed by double clicking "SMathStudio_Desktop.exe" file in the SMathStudioDesktop.0_97_5154.Mono folder in the home directory. How to make an executable desktop icon of SMath?At the decktop right click the mouse and press Create Launcher. Then fill the cages as follows. Type:-Location Name: Smath Then press the browse button by the side of command cage, to locate "SMathStudio_Desktop.exe" file in the "SMathStudioDesktop.0_97_5154.Mono" folder in the home directory.Then press ok button .Now you will get a Launcher icon on the desktop. 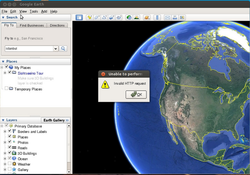 After the google earth (<7) is installed in Ubuntu if you try to use "Fly to" box in the left panel of google earth, this error message will appear.This is due to an old libcurl version installed in Ubuntu 12.02.To overcome this problem, it is necessary to get rid of libcurl.so.4 file in /opt/google/earth/free/ folder .
For the safety we can re name this file as follows . Open the terminal sudo mv /opt/google/earth/free/libcurl.so.4 /opt/google/earth/free/backup_libcurl.so.4 Now you can fly to any place with out getting "invalid HTTP request" error notice My OS is Linux mint 16 and the installed google earth version is 7.1.2.2041 Problem:- google earth does not show Panoramio photos Solution:- open the terminal and #sudo apt-get install libfreeimage3 #cd /opt/google/earth/free #sudo wget https://googledrive.com/host/0B2F__nkihfiNalQzN0ZmcjBPTGs/ge7.1.1.1580-0.x86_64-new-qt-libs-debian7-ubuntu12.tar.xz # sudo tar xvf ge7.1.1.1580-0.x86_64-new-qt-libs-debian7-ubuntu12.tar.xz # sudo apt-get install gufw # sudo apt-get install flashplugin-installer Now you will be able to see Panoramio photos This method can be used for ubuntu 14.04/13.10/13.04/12.04 If you can't download ge7.1.1.1580-0.x86_64-new-qt-libs-debian7-ubuntu12.tar.xz file from the above googledrive site please and copy the downloaded file to /opt/google/earth/free and extract it
1. Install PlayOnLinux using Ubuntu Software Center
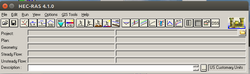
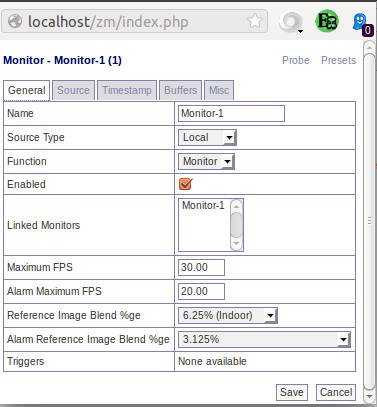
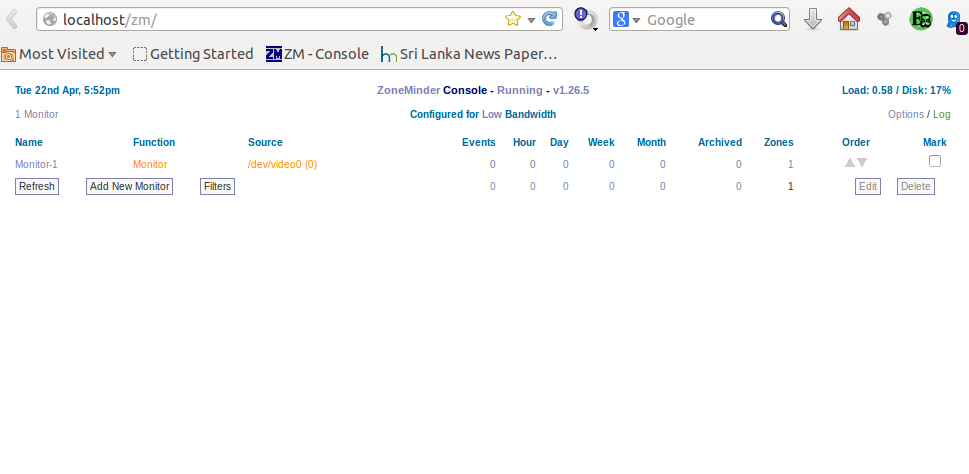
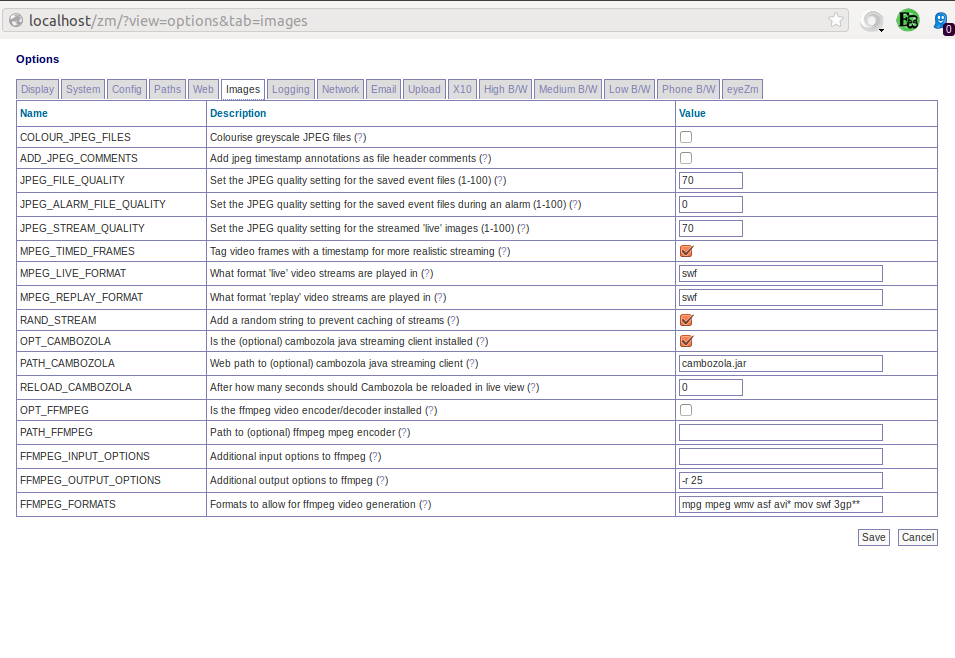
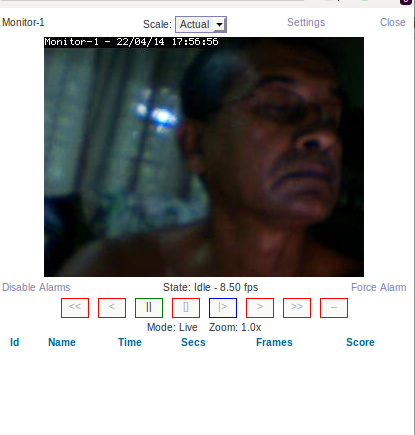
2. Then start PlayOnLinux and Tools>Manage Wine versions to install wine 1.4 (It is difficult to install if if wine >1.4 ) Then Install>Install non-listed program>Install a program in new virtual drive> then name the drive and tick install some libraries then select 32 bit tick Pol_install_mfc40 Then install HEC-RAS using the downloaded hec ras exe file note :- download HEC-RAS  ZoneMinder ,the top Linux video camera security and surveillance solution. (1) Install Zoneminder 1.26.5-1ubuntu3 using Ubuntu software center (2) Open the terminal and input sudo mkdir /etc/apache2/conf.d sudo ln -s /etc/zm/apache.conf /etc/apache2/conf.d/zoneminder.conf sudo ln -s /etc/zm/apache.conf /etc/apache2/conf-enabled/zoneminder.conf sudo a2enmod cgi sudo adduser www-data video /etc/init.d/apache2 force-reload (5)Download cambozola and extract to home folder.Then the extracted folder name may be look like cambozola-0.935 .Then open the terminal and input cp cambozola-0.935/dist/cambozola.jar /usr/share/zoneminder now open the web browser and goto address localhost/zm Now you can add your monitor (using the web cam or any other ip cam) and configure zm as you wish.If you want to get e-mail alerts you can use postfix .refer - Configure Postfix to Use Gmail SMTP on Ubuntu |
AuthorRetired Director of Irrigation ,Sri Lanka Categories
All
Archives
March 2020
|
 RSS Feed
